Toy Manufacturing from a Concept Image: Design to Production
You can contact a toy factory even if all you have is a concept image or an AI rendering. You do not need to learn 3D modeling yourself before starting the conversation.
An image mainly shows what the toy should look like. To manufacture a batch of plastic toys that can be assembled and used, someone also needs to design the dimensions, internal structure, and manufacturing approach. Worldboundgroup can get involved at this stage. If you commission us to develop the structural design, we charge a separate design fee.
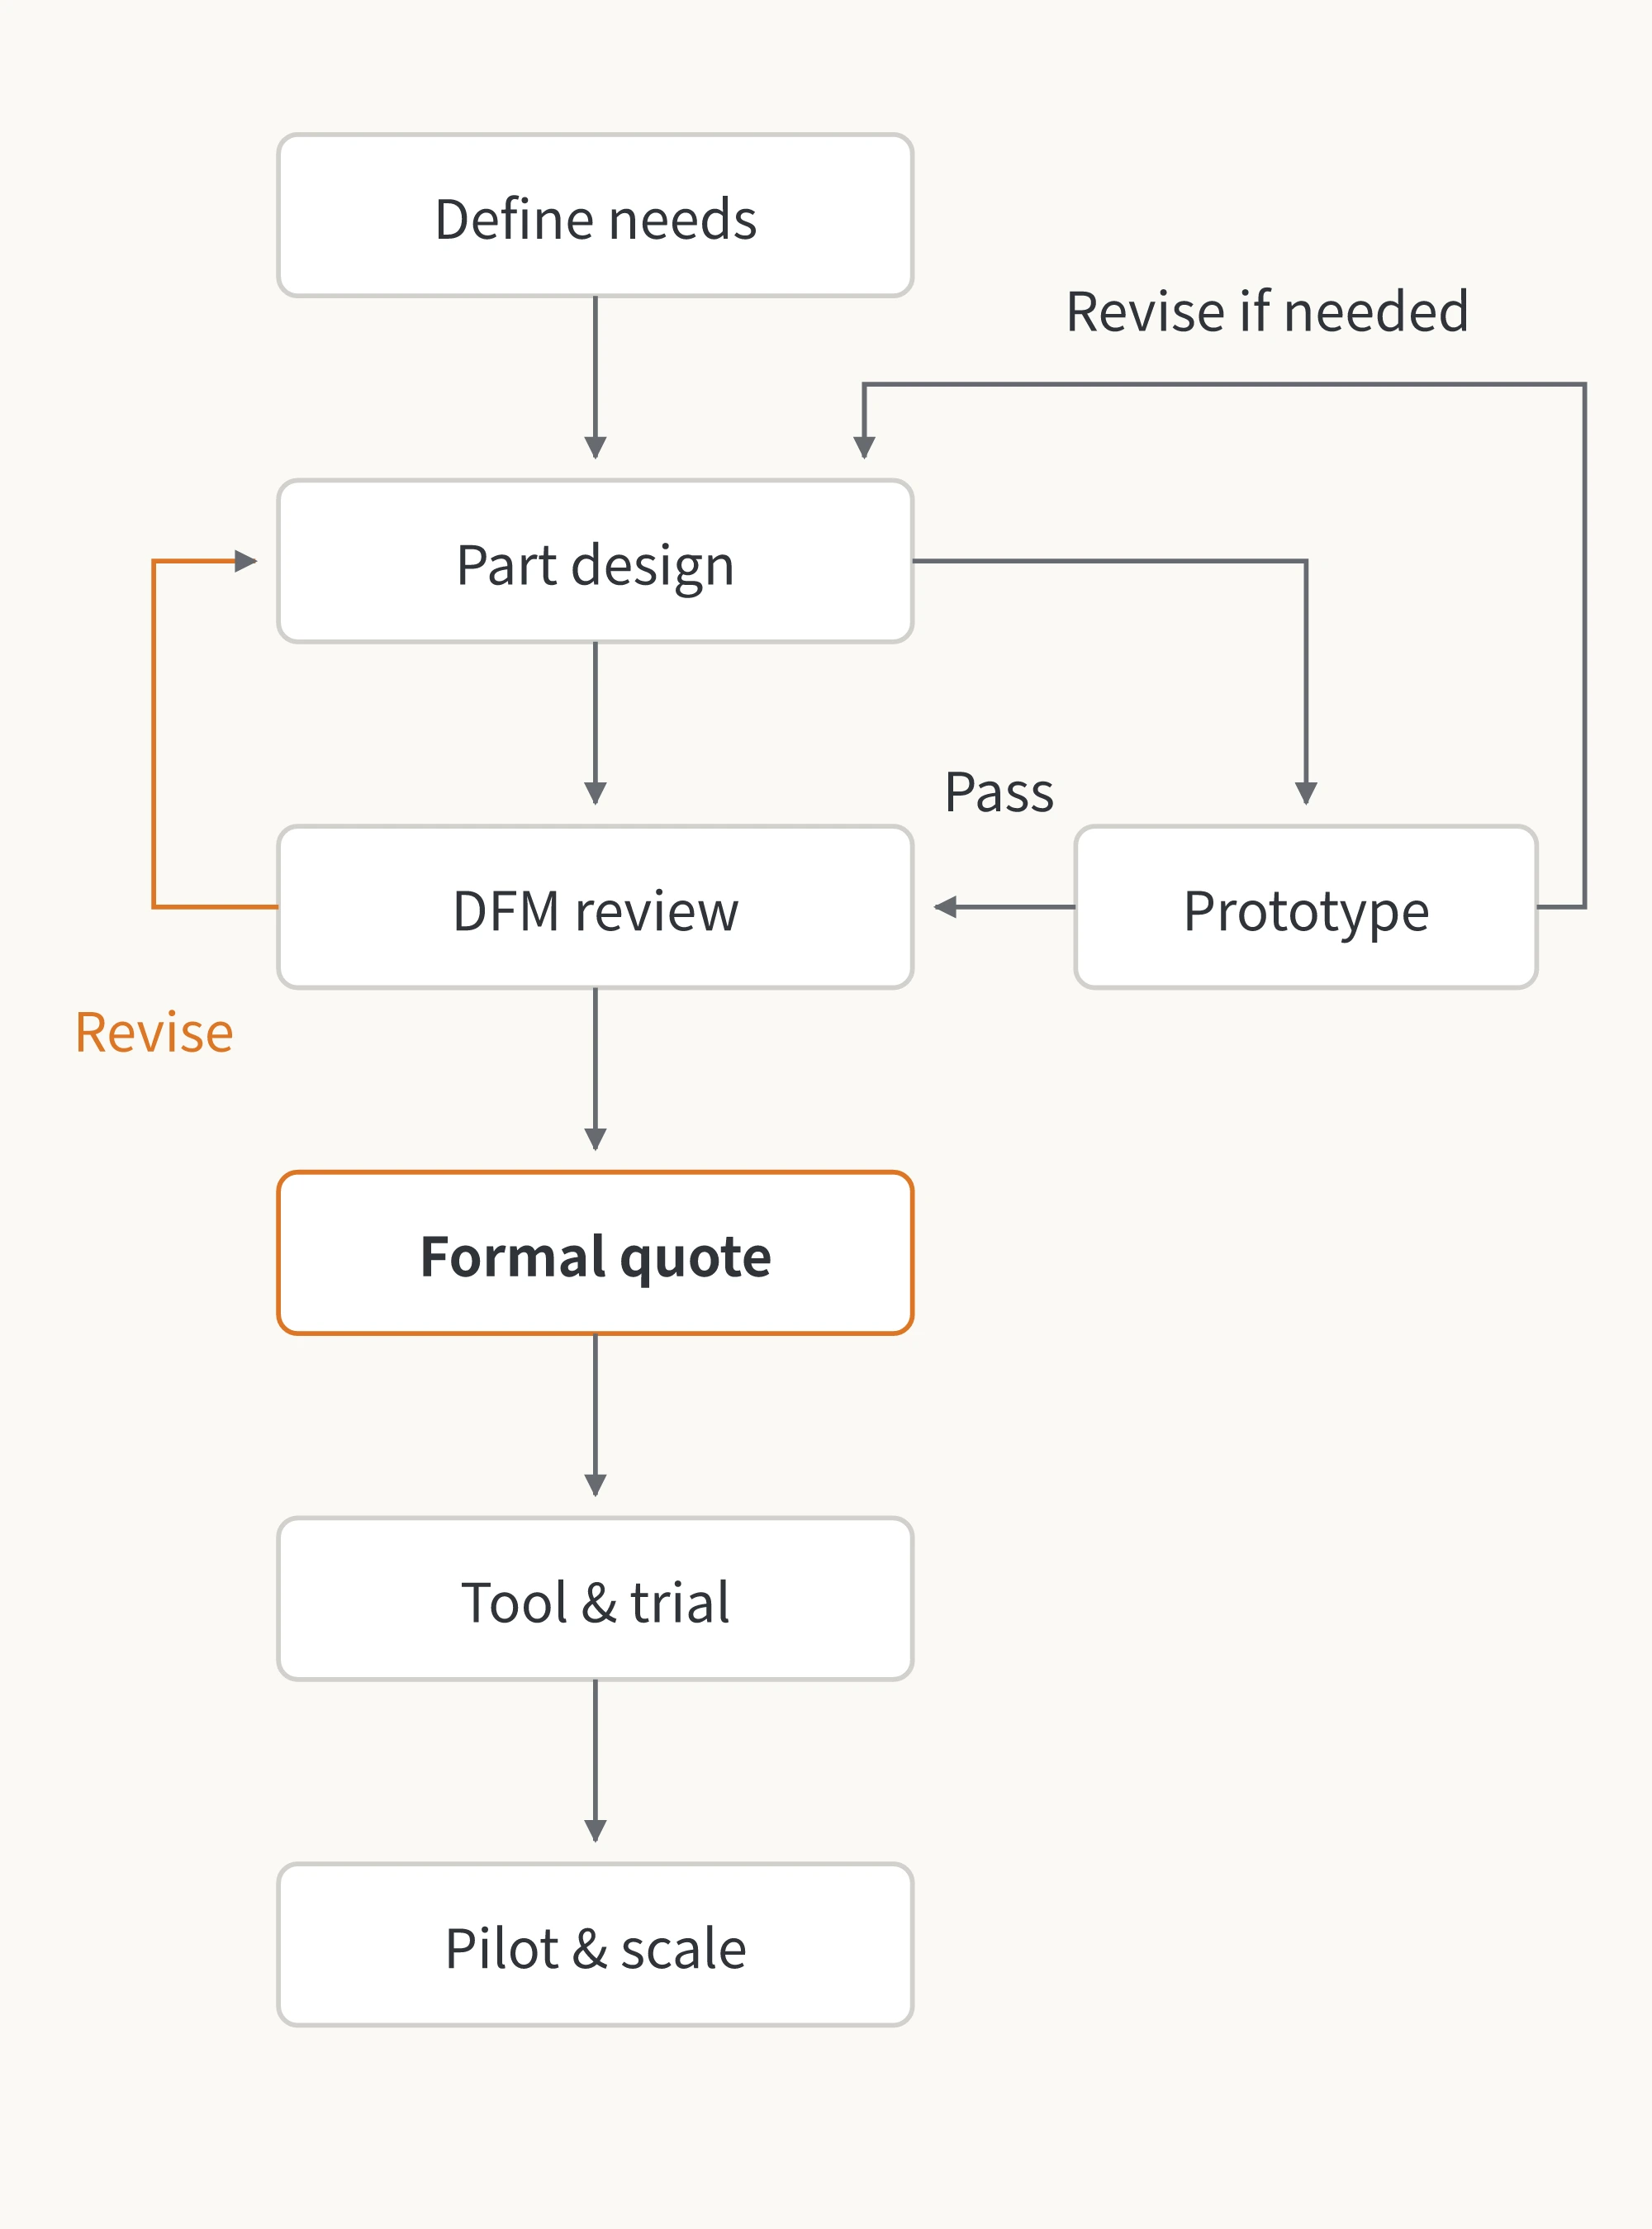
The steps below explain what happens during development and why each stage matters. This article focuses on plastic toys that require injection molds. Prototype testing and design reviews can take place alongside other development work as the project progresses.
Step 1: Explain What the Toy Needs to Do
Start by sharing your existing images with the factory or designer, and explain which visual features you want to keep. Then fill in the requirements that the images do not show:
- Size and how it works: Give the approximate dimensions. Is it a display piece, an assembly toy, or something with rotating or pressable parts? Does it need lights or sound?
- Who will use it and where it will be sold: Specify the intended age group and sales markets so these can inform the design and subsequent assessment of safety requirements.
- The look and feel you want: Explain which areas should be soft or rigid, along with your requirements for colors, graphics, and how the toy feels in the hand.
- Quantity and budget: Share your estimated first-order quantity and budget range. You can discuss anything you have not yet decided.
These details affect how the product is divided into parts, how its functions are implemented, and which manufacturing approach makes sense. Toys that look identical in a picture can need different designs and have different costs if their size, play features, or order quantities differ.
You do not have to solve every technical question at this stage. Explaining your idea clearly gives the designer a practical starting point.
Step 2: Have a Product Designer Turn the Appearance into a Manufacturable Design
If you only have images, someone now needs to develop the product’s structural design. Even if you already have a 3D exterior model that you can rotate on screen, check whether it includes the necessary internal structure.
Structural design answers specific questions. Which separate parts will make up the toy? How thick will the shell walls be? How will the parts be secured? What clearance will moving parts need? If the toy has lights or sound, where will the components fit, and how will they be installed? The designer also needs to consider whether the parts can be injection molded and released from the mold.
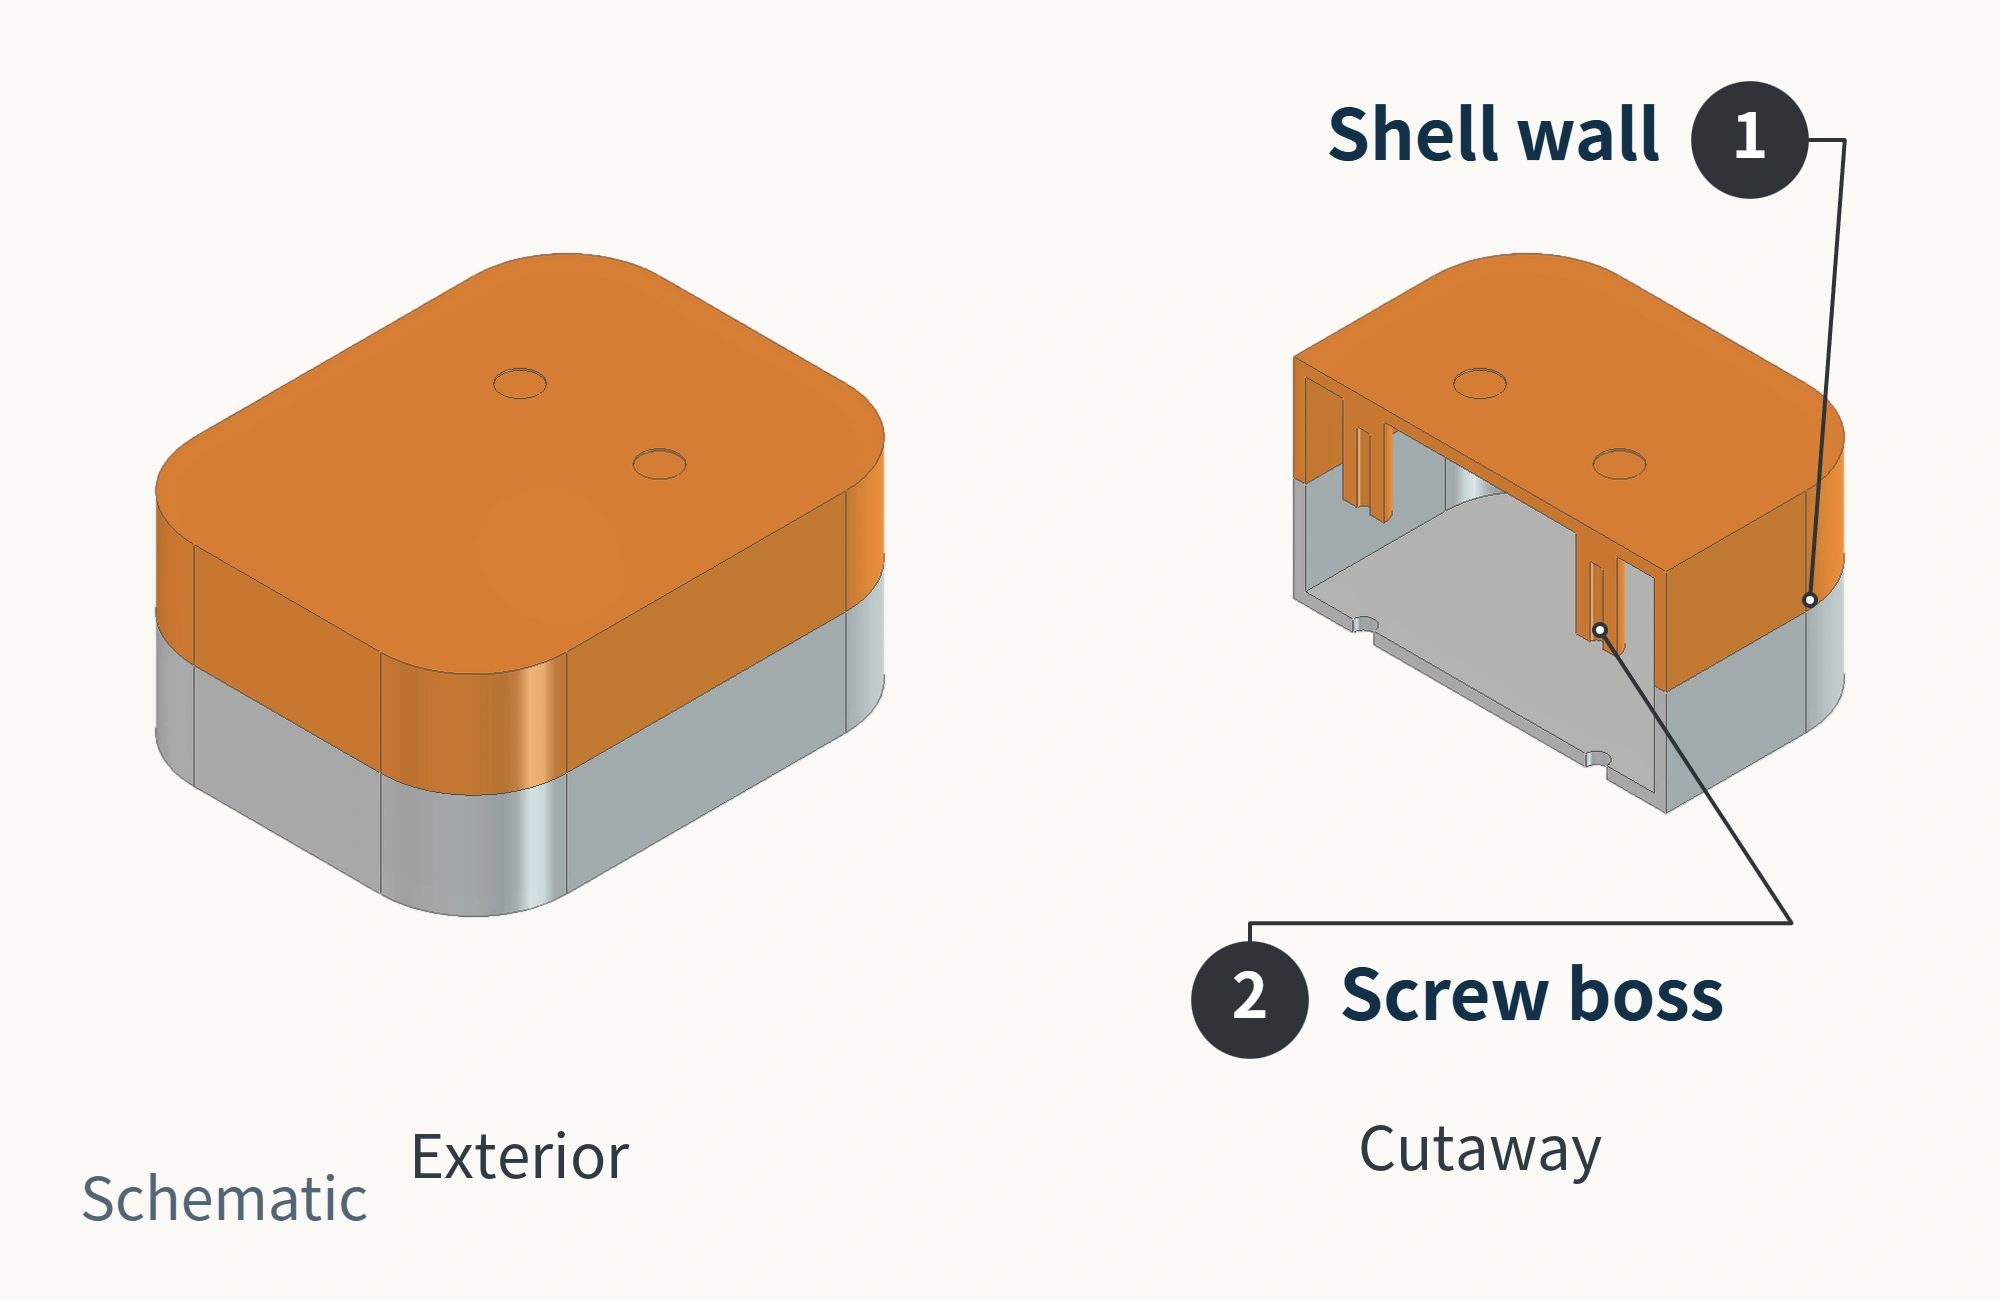
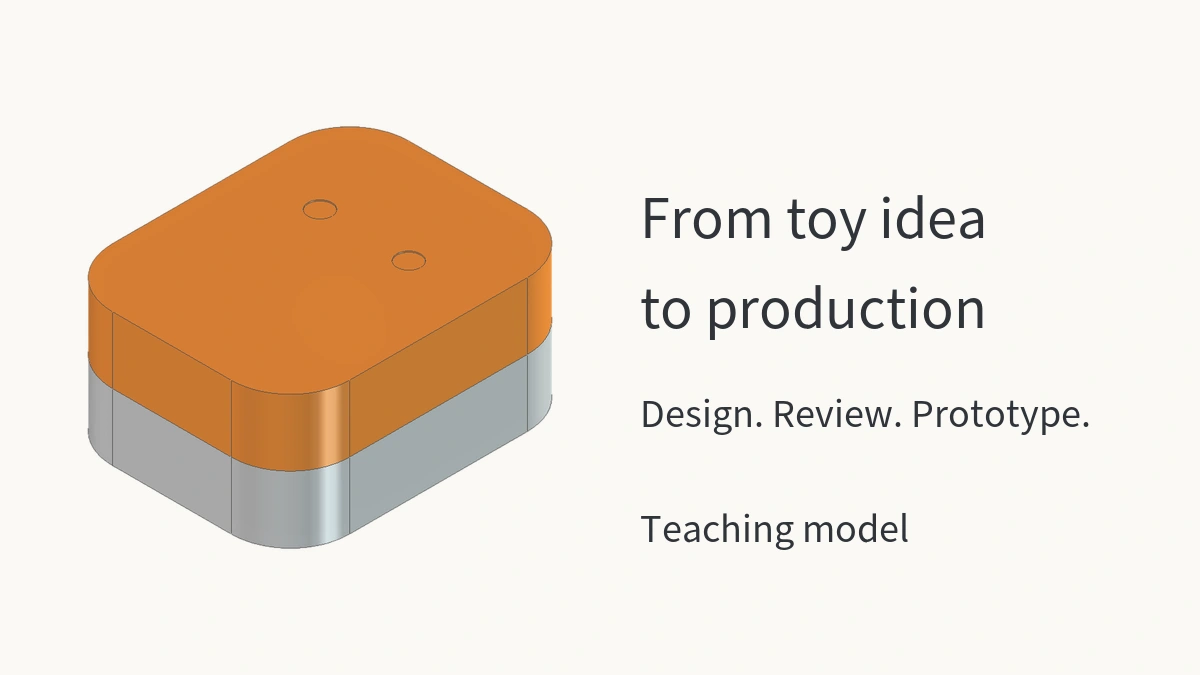
This teaching illustration shows only part of the structure. A real product needs a complete design covering the dimensions, connections, and assembly relationships of all its parts. The factory must then review it to determine whether it is suitable for tooling.
If you cannot create the model yourself, find a designer who understands toy structures or injection-molded product design. You can look for design services on Taobao, hire an independent product designer, or ask a friend with relevant experience. Check that the person can design parts for injection molding and will make revisions in response to the factory’s review. Attractive renderings alone do not demonstrate those skills.
You can also commission Worldboundgroup to develop the structural design. This is a paid service, and we can assess the scope and design fee before development starts. Whichever designer you choose, agree in advance on the model files they will deliver, the revisions included, and who will coordinate with the factory.
Step 3: Send the Engineering Model for Review Before Finalizing the Quote
Once the structural design is complete, the factory needs a 3D engineering model that allows it to check dimensions, individual parts, and structural details. Worldboundgroup normally requires STEP/STP format, with an . .step or .stp file extension. STEP is a 3D model exchange format. Separate 2D drawings can supplement the model with critical dimensions, fit requirements, and other details.
The correct file format only confirms how the model is stored. The model still needs to be checked for complete structural design and suitability for tooling. Converting an exterior model to STP, or simply changing its file extension, does not automatically add wall thickness, connections, or an assembly design.
Exterior models created in C4D, 3ds Max, or similar software can help communicate the shape. If a file contains only the outer form and lacks the structural design, it cannot serve directly as the basis for making an injection mold. What matters is the engineering work already included in the model and whether the imported geometry can be properly inspected. The software name alone cannot answer those questions.
After receiving the model, the factory carries out a design for manufacturability review, often called DFM. It checks whether wall thicknesses are appropriate, which direction the parts will leave the mold, whether any features obstruct mold release, and whether the parts will assemble correctly. If the review identifies problems, the designer needs to make revisions. Both sides then confirm which model version to use.
A formal tooling quote and product unit price require a structural model the factory can assess, together with clearly defined production conditions. In addition to the model, the factory needs the plastic material, order quantity, colors and surface finishes, and assembly and packaging requirements. The structure determines the tooling and machining required. Materials and processes affect manufacturing costs, while quantity can affect both the tooling approach and the unit price.
Prices discussed at different stages serve different purposes:
| Price | Basis and purpose |
|---|---|
| Design fee | Assessed from the available information and the scope of design work. It can be discussed before the complete model is ready. |
| Preliminary budget estimate | Based on images and known requirements, with stated assumptions about dimensions, materials, and structure. It helps you decide whether to continue the project. |
| Formal tooling cost and product unit price | Calculated from the reviewed model and agreed production conditions to establish the actual manufacturing approach and order. |
With only images, you can still discuss feasibility, design fees, and a budget range. Before the structure is defined, a unit price given without explaining its assumptions cannot be treated as a firm commitment for mass production. Changes to the model, material, or quantity also require the quote to be checked again.
Step 4: Build Prototypes to Check Size, Assembly, and Play Features
After reviewing the model on screen, you need physical prototypes of the key design features. For example, a 3D-printed shell can be assembled with other components to check the size, handling, assembly, and play features against your expectations.
Some problems are easier to identify with a physical sample. A size that looks right on screen may feel awkward in the hand. Parts that look fine individually may interfere with each other when assembled. If this happens, revise the engineering model and, where necessary, build another prototype to confirm the changes.
Prototyping can take place during structural development, factory reviews, and quotation discussions. Complete the necessary design checks before committing to tooling. If prototype testing leads to structural changes, return to the factory to review the manufacturing approach and price.
The materials and processes used for printed prototypes may differ from those used for the final injection-molded parts. A prototype that assembles and works does not prove that the design will mold successfully. It also does not establish that the final product meets strength or safety requirements.
Step 5: Make the Mold After Design Approval, Then Check Molded Samples
Mold design and manufacturing begin after the product design, necessary verification, and manufacturing approach have been confirmed. Your product model is an important input to tooling development. A mold engineer still needs to design the complete mold and plan its machining and assembly.
Once the mold is made, mold trials produce actual injection-molded samples. These trials let you check parts made with the agreed material and manufacturing process: Are there visible defects? Do the dimensions and assembly meet the requirements? Do moving or functional components work correctly?
If a mold trial reveals problems, determine whether they come from the product design, the mold, or the molding conditions. Make the appropriate adjustments, produce new samples, and confirm the results. Completing mold machining does not mean the project is ready for mass production.
Step 6: Approve the Samples and Pilot Run Before Mass Production
After sample approval, a small pilot run is needed as agreed for the project. It checks whether ongoing production, assembly, surface finishing, and packaging can be carried out consistently. Making one good sample and making an entire batch to the same requirements involve different stages of verification.
Confirm and freeze the model version, approved sample, material, colors, functions, and packaging requirements. Complete the relevant quality and safety verification, then use those agreed requirements to plan mass production and outgoing inspection.
If all you have today is a concept image, start the conversation with that image and an explanation of how the toy should work. If you cannot create the model, arrange structural design support first. When working with Worldboundgroup, begin by assessing the design scope and fee, then move through engineering models, samples, and production development.